
Backstage AI/
By Backstage AI Editorial
Turn album artwork into a merch collection
Album covers are square and merch print areas are not. A workflow for adapting one cover into a tee, a hoodie, and a cap — three different layout constraints, one visual system.
An album cover is square. A chest print area, a hoodie panel, and a cap front are not. Drop the cover file onto a garment unchanged and something breaks: a wordmark that read fine on a streaming tile turns illegible at arm's length, or a background detail that was texture at cover size becomes a smear on fabric. Turning artwork into a merch collection is not a resize — it's a set of separate layout decisions, one per garment, that still add up to a single visual system.
This walks through adapting one cover into three garments with genuinely different print constraints — a tee, a hoodie, and a cap — using the current Backstage AI / MRCH canvas and catalogue. The example cover referenced throughout is invented for illustration: an unnamed mark and title lockup, not a real release, not a real artist, and not art borrowed from anywhere else.
Why a square cover rarely becomes the whole garment design
A cover has to survive at streaming-tile size, so covers lean on fine texture, layered type, and a square crop that a garment print area doesn't share. In the canvas, the print area is a dashed box on the blank — tall and narrow on a tee, shifted and compressed on a hoodie, tiny and curved on a cap. None of those is a square. Paste the full cover in unscaled and you either crop off the parts that made it readable, or shrink the whole thing until the title is a grey smudge at chest distance.
The fix isn't a smarter crop of the same file. It's deciding, before you touch a blank, which single motif and which single title treatment are strong enough to carry a print on their own — then rebuilding each garment around that decision instead of the cover's square frame.
Choose the motif, title, and colour hierarchy to keep
Pick three things from the cover and hold them constant across every garment: one motif (a mark, an illustration element, or a symbol — not the whole scene), one title lockup (the same letterforms and the same spelling, no re-lettering per product), and a two-step colour hierarchy (one foreground colour for the mark, one field colour behind it). Everything else on the cover — secondary texture, a gradient, a background photo — is a cover-only decision. It does not need to survive the move to fabric, and trying to keep it usually costs you legibility instead.
- Motif: the one shape a fan should recognize from ten feet away, not the full illustration.
- Title: locked spelling and one lettering style, reused at whatever size each garment allows — including small enough to drop entirely on a cap.
- Colour: a foreground/background pair that still contrasts on the actual garment colourway, not just on a white cover thumbnail.
Tee adaptation: the print area is not the cover
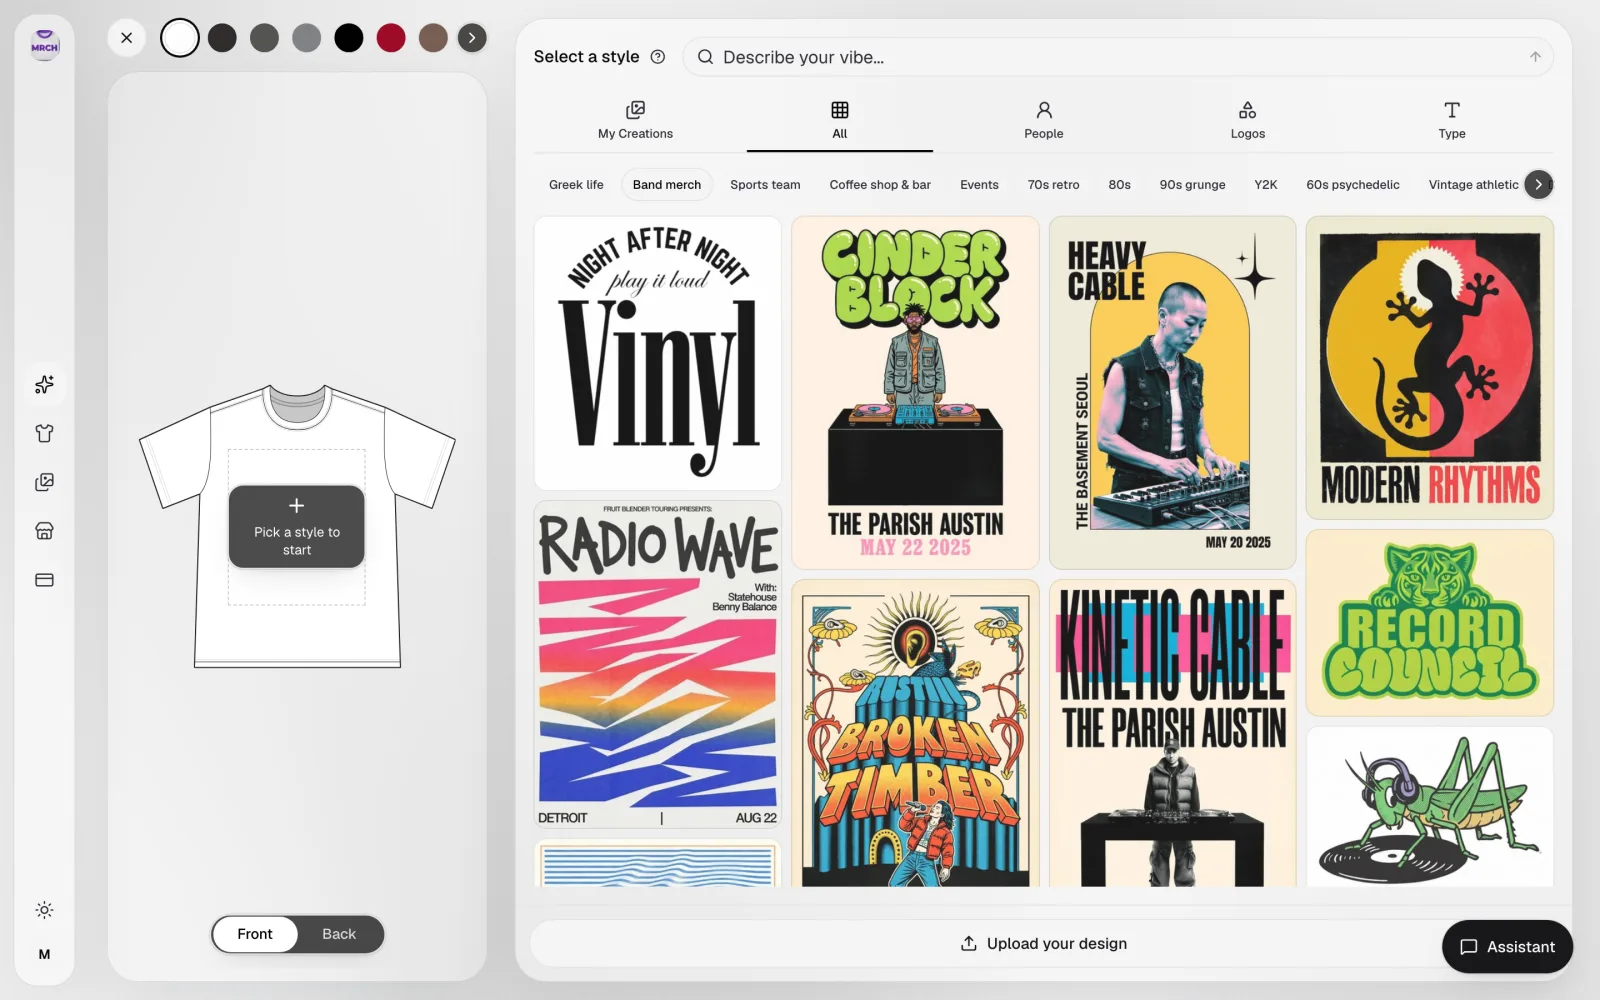
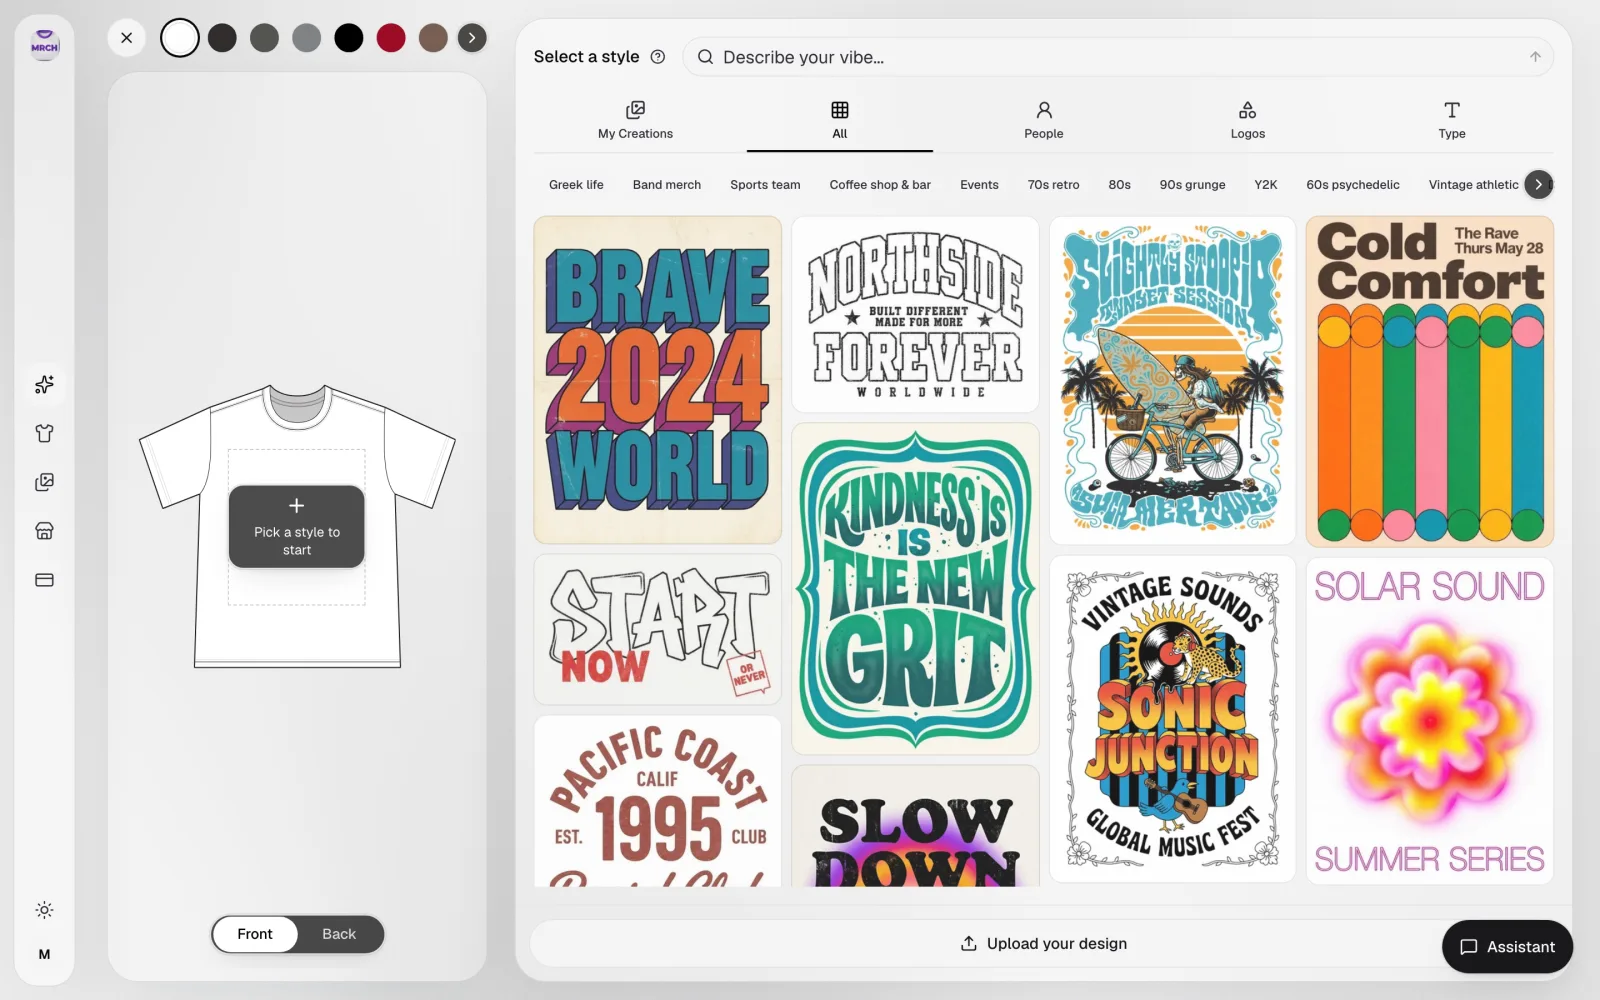
The tee gives the largest, most forgiving print area of the three — a tall panel on the chest, shown as a dashed guide in the canvas once you pick a blank. That's where the full motif-plus-title lockup usually fits best: motif centered and sized to read from across a room, title set smaller beneath it. The canvas' style categories include a Band merch set — gig-poster-style tiles you can use as a starting layout reference for hierarchy and type treatment, separate from your own uploaded or generated artwork.
Hoodie adaptation: the pocket and seam change the math
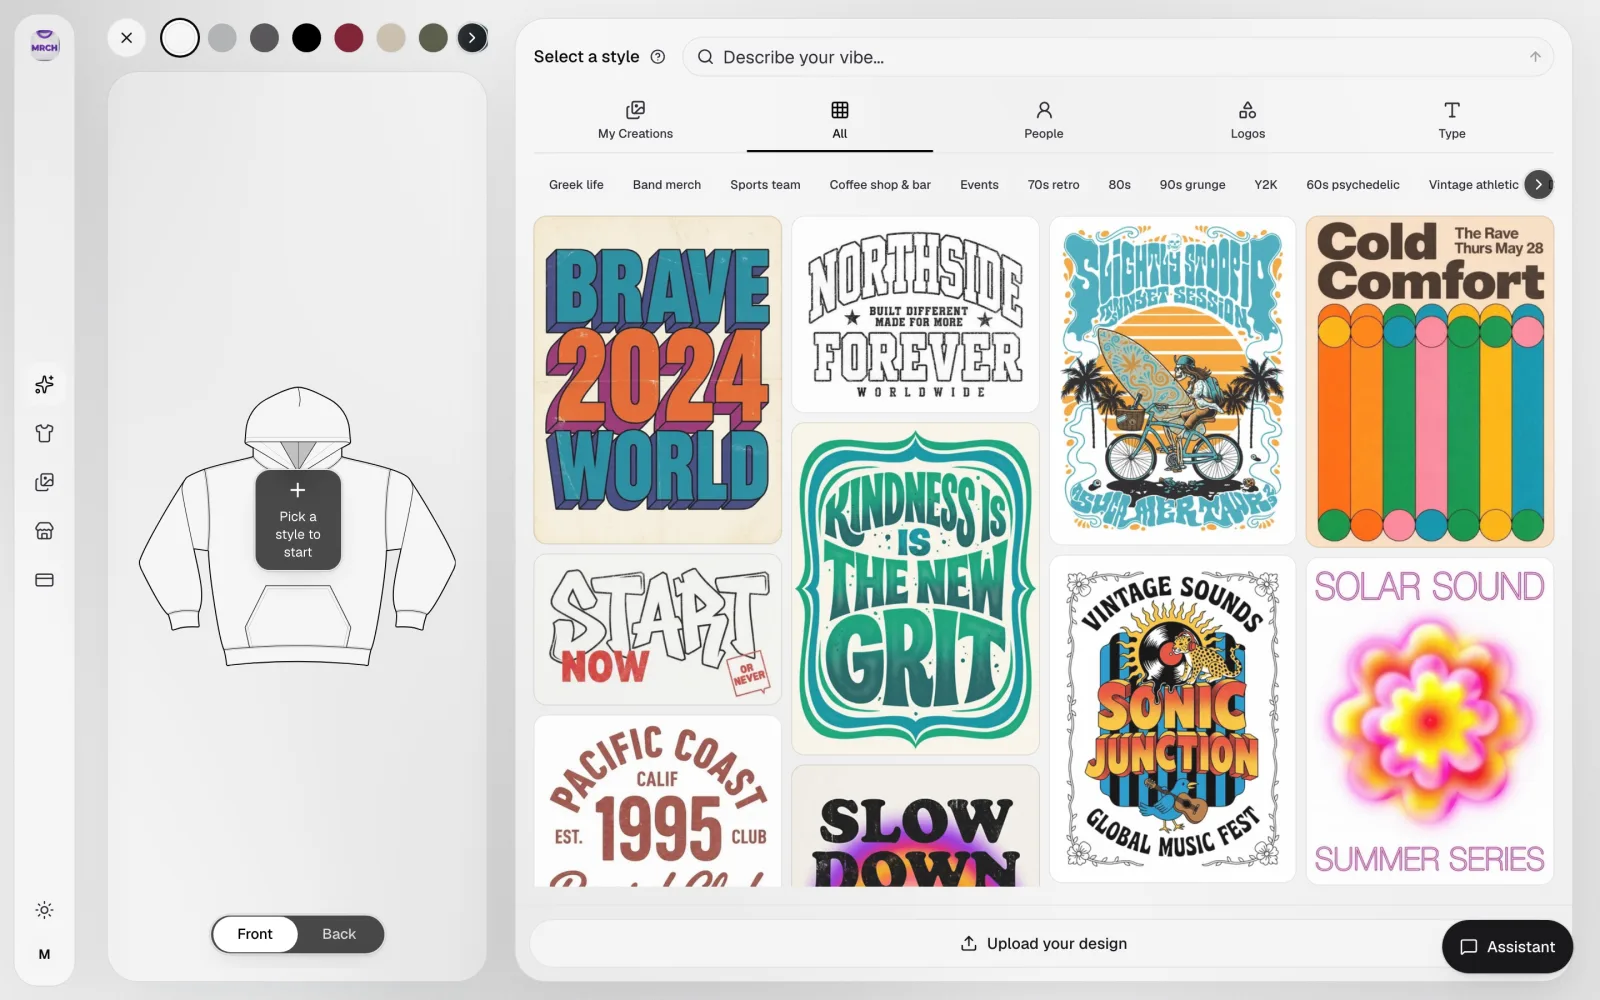
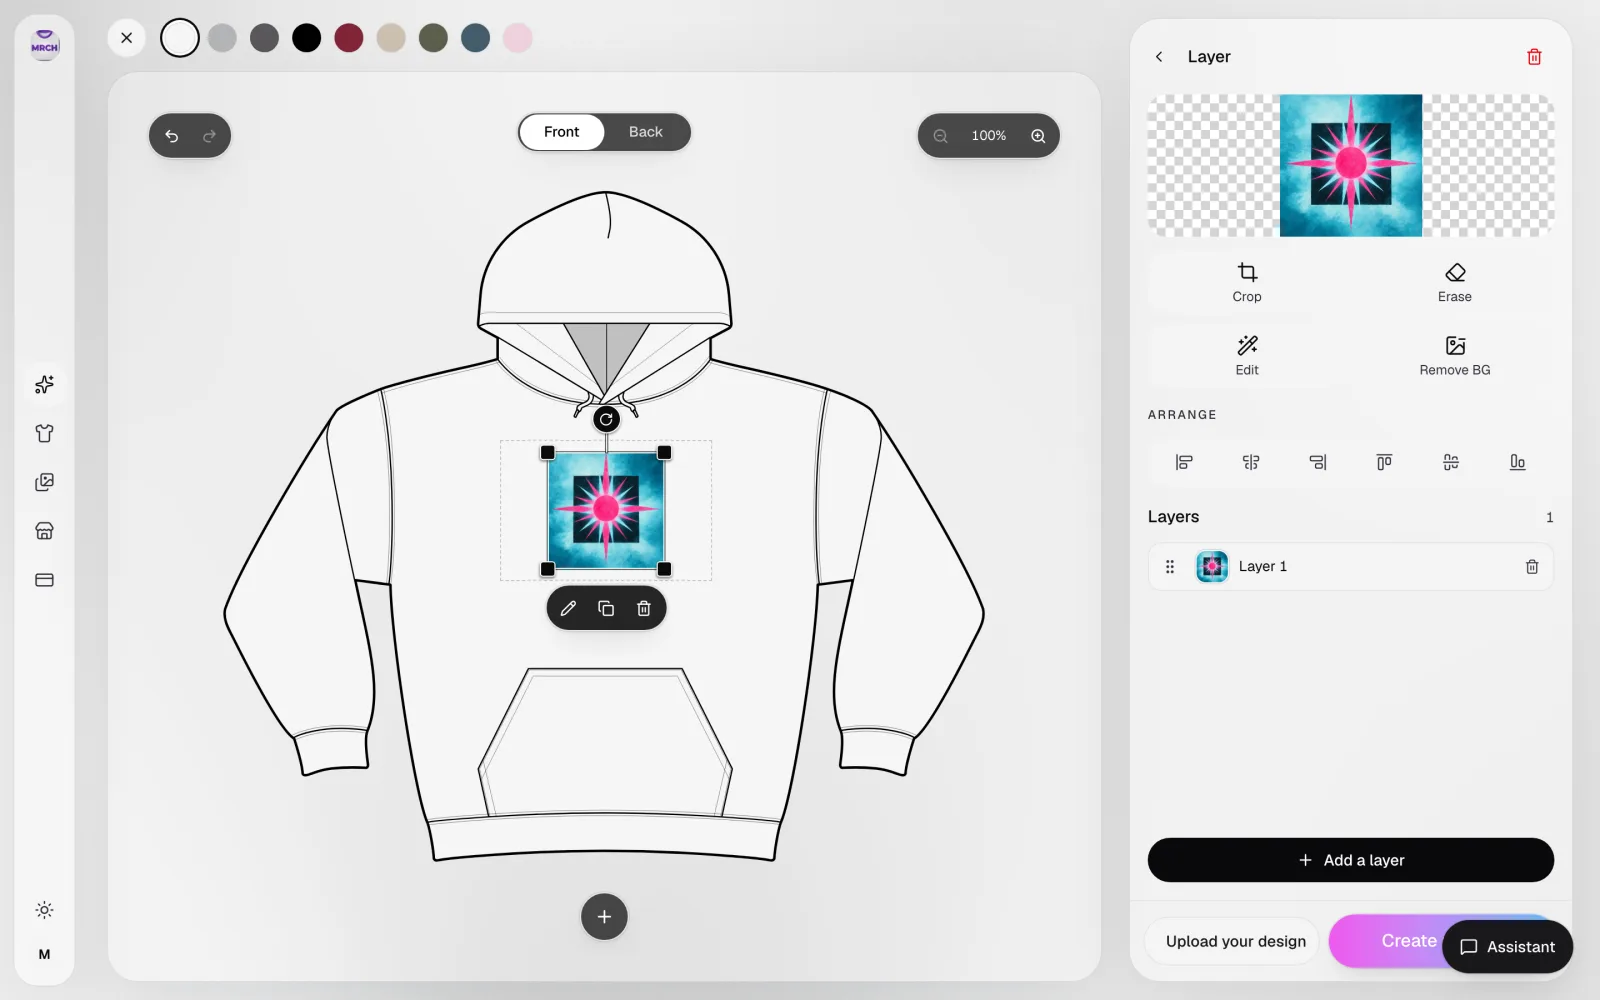
The same motif that centers cleanly on a tee usually can't sit in the same place on a hoodie. The kangaroo pocket sits mid-torso, and the hood's seam and drawstrings interrupt the panel above it, so the printable area ends up higher and narrower than the tee's. A motif-plus-title stack that fit comfortably on a tee often has to drop the title, or shrink the whole lockup, to clear the pocket and stay inside the hoodie's usable panel. This is a separate layout decision, not the tee file scaled down.
A third supported format: the cap, not a third poster
The third adaptation shouldn't just be the tee layout scaled down again — it needs its own constraint to be worth including. A cap front is the smallest and most curved print area of the three: there's room for the motif alone, and usually not for the title at all. Check the live catalogue before naming a third format; as of this check it filters into Shirts, Long Sleeves, Hoodies, Hats, and Accessories, with real blanks and real from-prices, not a wish list. A Surf Cap blank lists from $21.27, catalogue from-price checked 2026-09-21 — a blank cost, not a fee or a margin.
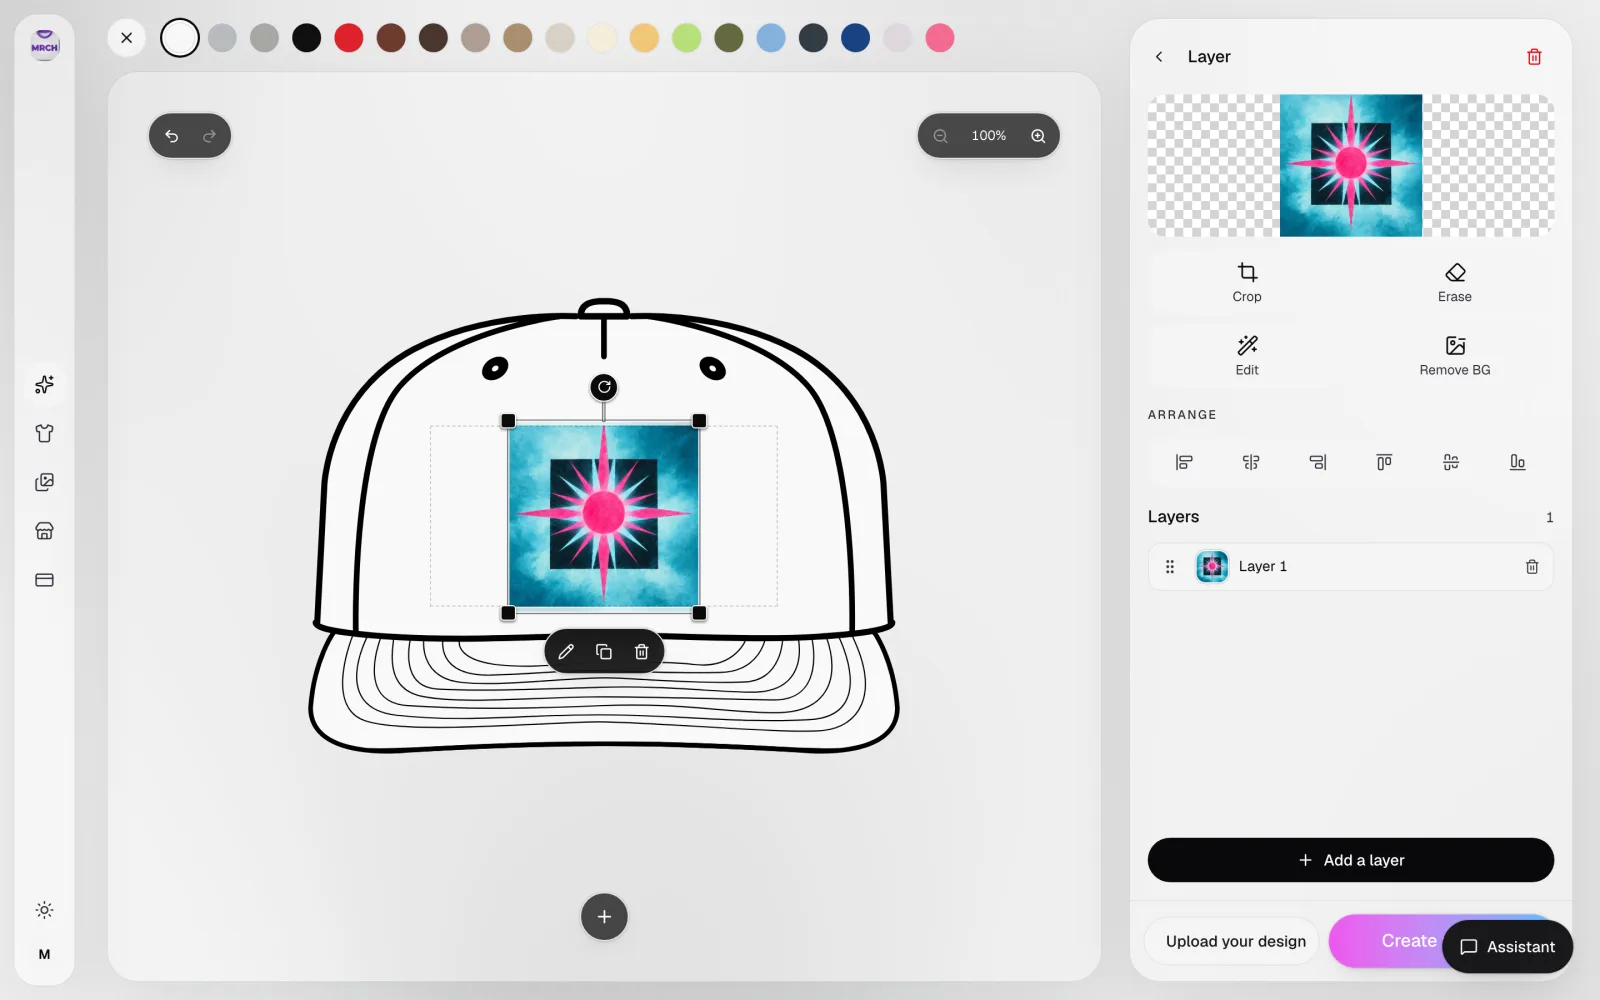
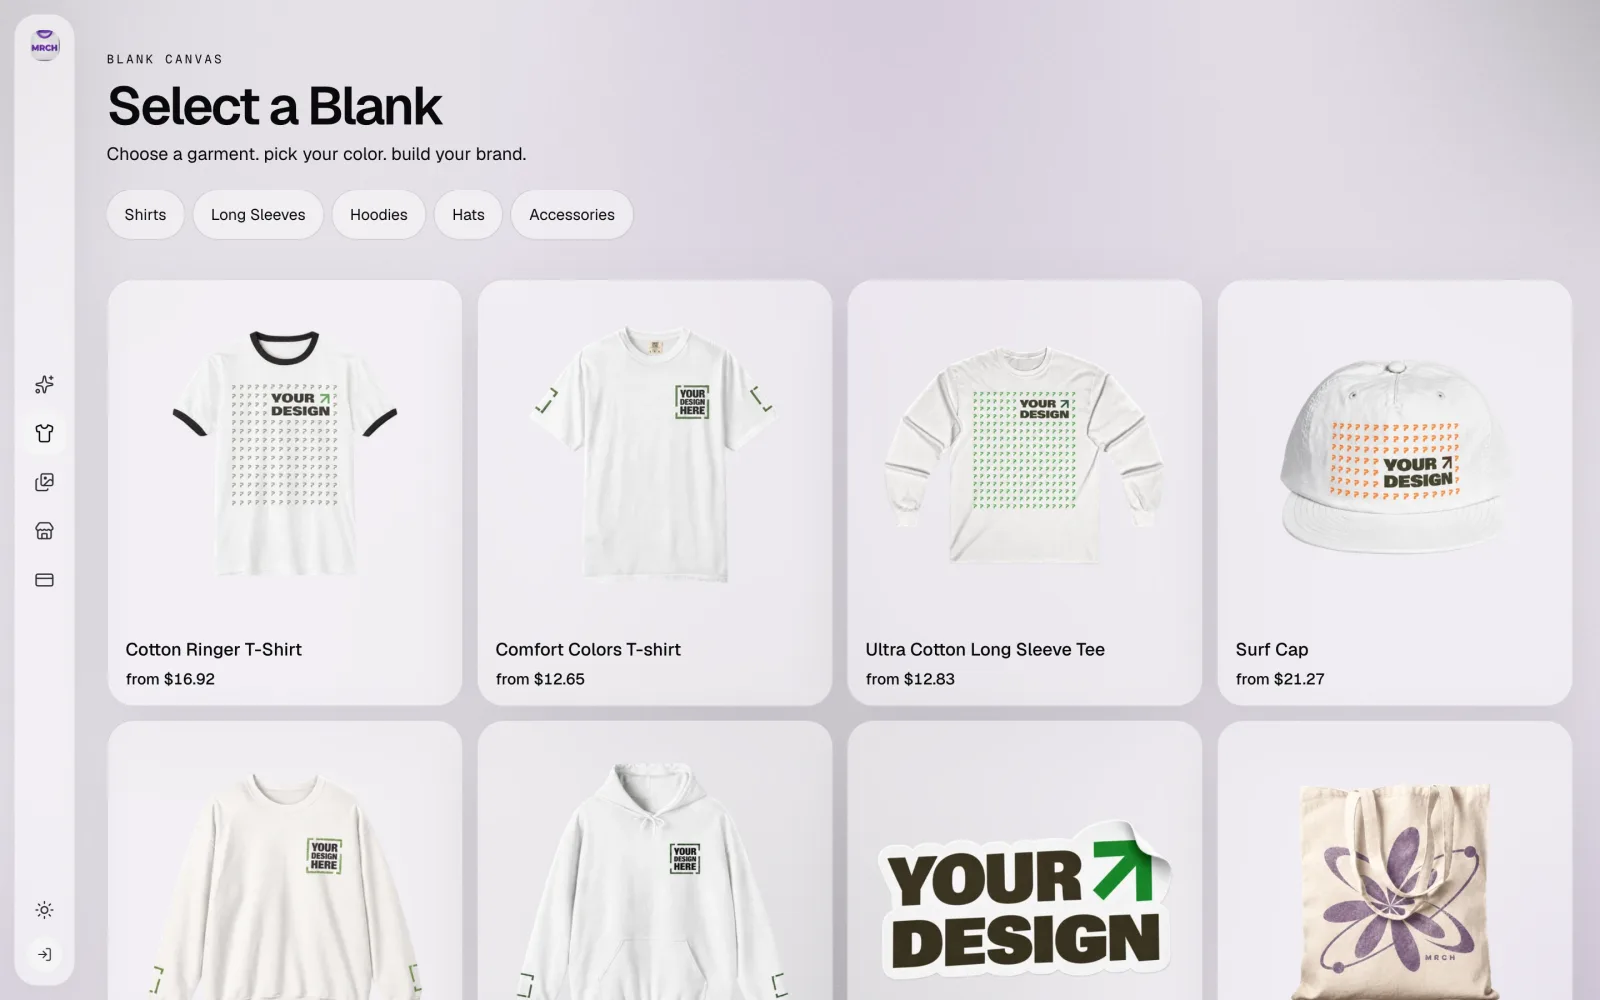
If the motif alone doesn't read at cap scale, the honest move is to cut the cap from this drop rather than force a version that reads as noise. A long sleeve tee is the closer, lower-risk third option when the motif needs the title nearby — it shares the tee's flat panel, just on a different sleeve length, and the catalogue lists an Ultra Cotton Long Sleeve Tee blank from $12.83 (catalogue from-price checked 2026-09-21).
| Row | Garment | Print area shape | What usually survives | What usually gets cut |
|---|---|---|---|---|
| Tee | Tee | Tall, flat chest panel — the most forgiving of the three. | Motif plus title lockup, centered and sized to read at a distance. | Secondary cover texture and gradients that don't hold at fabric resolution. |
| Hoodie | Hoodie | Narrower panel, pushed higher by the kangaroo pocket and hood seam. | Motif, usually resized or repositioned to clear the pocket line. | The title, or its size, if the panel can't fit both cleanly. |
| Cap | Cap | Small, curved front — the tightest of the three. | Motif alone, at its simplest form. | The title, almost always; and the cap itself, if the motif doesn't hold up that small. |
Keep print requirements and fan readability in view
A layout that looks right on a laptop still has to survive the two things a screen preview can't fully test: the actual print area on the actual blank, and a fan reading it from a few feet away, not a few inches. Check both before you treat any of the three garments as finished.
- Check contrast on the actual colourway you're printing, not a white canvas background — a mark that reads on white can disappear on a dark blank.
- Keep stroke weight and letterforms thick enough to hold at chest distance; what's crisp on a phone screen can blur on fabric.
- Check the design inside the dashed print-area guide on the real blank, on both front and back if the garment has both, before calling a layout done.
- Treat the canvas preview as a placement and boundary check, not a colour-match or durability proof — no photograph of a physically printed garment is used in this guide, and a preview shouldn't be read as one.
Publish using the current supported workflow
Once each garment's layout is decided, publishing is the same app flow for all three — there's no separate export step per format.
- Prerequisite: The cover file (or the motif and title lockup pulled from it) and the rights to use it. The Backstage AI app, signed in — canvas, pricing, and publish are behind sign-in; there is no Backstage web editor.
- Pick each blank from the real catalogue. Choose the tee, hoodie, and cap (or long sleeve) blanks from the current Shirts, Long Sleeves, Hoodies, Hats, and Accessories categories — not from a mood board of products that aren't actually sold.
- Place the adapted layout, not the cover file. Apply the version you built for that garment's print area — resized motif for the hoodie, motif-only for the cap — inside the dashed guide, checking Front/Back if the garment has both.
- Read the price screen before you submit. Confirm production cost and your price for each SKU in the app's price screen. This guide does not publish fee, split, or payout numbers — check them live, in-app.
- Submit, then confirm the listing is actually live. A submitted product is not a live listing yet. Open the shop link on a second device and confirm a buyer can see the product before you put the URL anywhere public.
- Result: A live shop with the tee, hoodie, and third-format listing, each checked against its own print-area guide — not just three submits.
Download Backstage AI on the App Store or Google Play to run this on your own cover. There is no Backstage web editor; the separate MRCH web app at sellmerch.ai is a different, non-musician product. For the cover itself, start with album covers; for the full release system across cover, poster, and merch, see album covers and tour posters in one workflow.
Sources
- MRCH garment catalogue — Select a Blank — Live catalogue checked 2026-09-21. Category filters and real blank from-prices.
- MRCH garment catalogue — Hoodies filter — Live filtered catalogue checked 2026-09-21.
- Backstage AI — Band merch — Live marketing page checked 2026-09-21.
Screenshots captured 2026-09-21 (Playwright, production UI) — see the W20 screenshot set provenance. Catalogue from-prices are blank costs checked live on 2026-09-21, not fees, margins, or payouts; no public platform fee number is published. Recheck the live catalogue and pricing before you rely on either. Recheck by 2026-10-21.
FAQ
Can I just print the album cover on a shirt as-is? Usually not without changes. A cover is a square built for a streaming tile; a chest print area is a tall rectangle bounded by a dashed guide in the canvas, not a square. Stretching or cropping the square onto that shape usually crushes the title and buries the motif. Rebuild the layout for the rectangle instead — see print quality.
Which garments does this workflow actually cover? Three real ones with materially different print constraints: a tee (a tall flat chest panel), a hoodie (the same panel pushed higher and narrower by the kangaroo pocket and hood seam), and a cap (a small curved area that only holds the mark, not the title). The current catalogue's category filters are Shirts, Long Sleeves, Hoodies, Hats, and Accessories — check the live grid before you name a fourth format, since not everything in a mood board is in the catalogue.
Do I need three separate pieces of art? No — one motif, one title lockup, and one colour hierarchy, adapted three times. Keeping the same mark and colours across the tee, hoodie, and cap is what makes them read as one drop instead of three unrelated products.
Is there a Backstage AI web editor for this? No. Backstage AI has no web design studio; the canvas, pricing, and publish flow are in the native iOS and Android apps. Download Backstage AI to run this workflow. Non-musician creators use the separate MRCH web app at sellmerch.ai — that is a different product, not a Backstage web editor.
Can a screen preview prove what the printed garment will look like? No. A canvas preview shows placement and the print-area boundary, not fabric colour match or durability. This guide has no photograph of a physically printed garment, and a preview should not be treated as one.
Backstage AI
Make the cover. Print the merch.
Continue on Band merch — covers, tour tees, and a live shop.